
 |
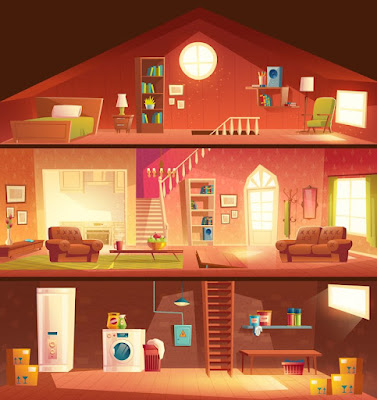
| image from Clipart Library |
Well, I say "nothing" but that's not entirely true to be fair to myself 😉
Whilst I haven't yet restarted work on Augusta Lodge, I have been able to make a start on sorting out my craft room. I posted over on MCOH about the chaos that was once again reigning in said craft room and although it's a daunting task to tackle, I actually made a start out there whilst we were still working in the garden. I was finding it was getting harder to do quite so many hours in the garden ~ a combination of tiredness and the colder weather. I compromised by doing just a couple of hours gardening in the morning on the better days, weather-wise, and then another couple of hours or so in the afternoon in the craft room.
I have also made on start on selling some of the things weeded out thus far, and the things to be donated have now gone ~ some to Restart, and a tub of craft items to Hamnavoe House (the residential elderly care home here in Stromness). Being the proud (?) owner of a notorious Butterfly Brain, I have managed to acquire a lot of "stuff" over the years to make whatever-the-hell the latest thing to catch my eye has been. Which, of course, has then sat gathering dust waiting for me to actually make the bloody thing 😏
In the end I realised that enough was enough, and I had to make some serious decisions about how I was going to occupy my time for however many crafting years I may have ahead of me. Nope I'm not being morbid, my lovelies, just trying to be sensible for once 😉 It always comes back to my love for both crochet and dolls' houses ~ it's impossible to choose one over the other, really. And in all honesty, why should one be my most favourite? After all, I have two kids and I don't love one of them more than the other 😄
So the upshot is that my craft room will be mostly devoted to my dolls' houses, although not entirely as there will still be forays into other crafts that I would like to try from time-to-time. My crochet, of course, is an in-the-house pastime; luckily for me I don't have to find room for my not-insubstantial yarn stash in the craft room, as it lives in the base of the bed in our guest bedroom 😏
There is still an awful lot of tidying/rearranging to do in the craft room though. We've put gardening on hold now until the spring, so I was hoping to really get stuck in to it now. Alas I've been thwarted by a run of very wintery weather! We've had snow and it turned very cold, making the short walk from our kitchen to the craft room a tad treacherous! And, of course, if anyone is going to slip over on that slope out there it's going to be me 😄 Still, the weather seems to be turning again with Storm Bert sending tentacles of wind and rain up here, so hopefully the snow will be washed away and I will feel that I'm safe to trundle up to my craft room to carry on the good work. We have family coming up for Christmas this year (yay 👏), so until then I'll hopefully be alternating getting the house ready for our guests with working in the craft room. It would be so nice to get it all tidy and ready to start working in there once again in the New Year so fingers crossed, eh 😊


.jpg)
.jpg)


.png)


.jpg)


.jpg)
